
Thankful - Step by Step Tutorial
22:14
Hi there!
Amanda with you today, showing you how I created my layout 'Thankful' that I created using last months Polly! Kit. We're just about ready to reveal the kit for January so stay tuned ... we have lots of sweet papers, embellishments and doo-dots coming your way if you're a subscriber to the kit club.
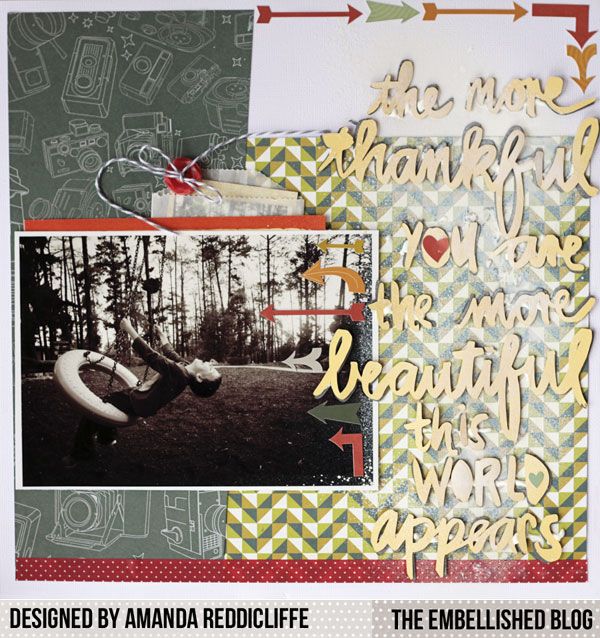
Here's the layout...

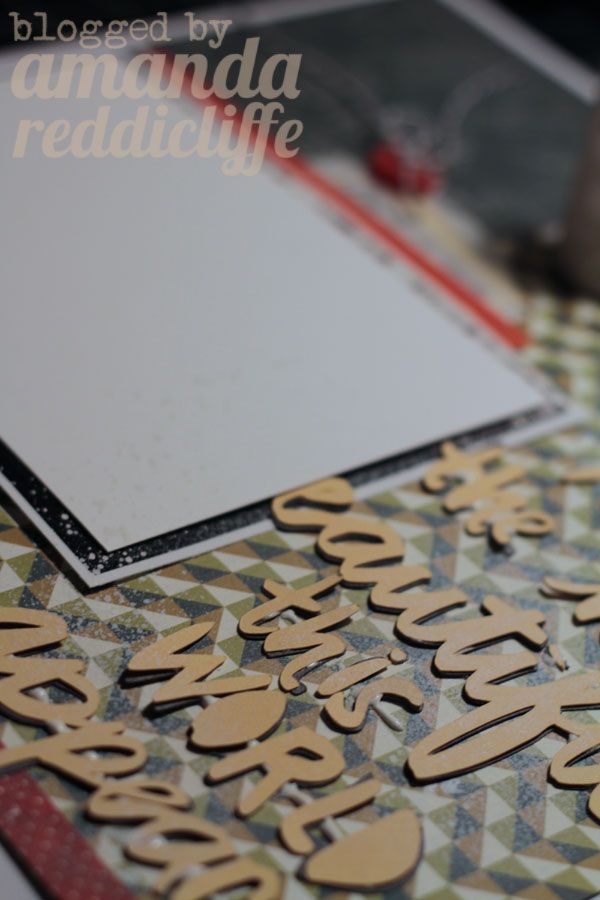
When I first sat down to scrap all I had was this gorgeous title (designed by Wilna and available for free here) that I cut with my Silhouette in two colours - a grey and yellow cardstock from scraps I had in my stash... then I needed the perfect photo. I have a stash of those too! I picked this photo of my oldest son playing in the park, lost in his own world. I thought it was perfect for the title.

Next I needed to pick my paper. The red or the green? Again, using scraps from my kit ... I went with the green.

Now for some embellishments... so hard to decide... ;)


Next I created a mini-brag book that had other photo's from the day that I wanted tucked away ... Punch 2 cards together (or cardstock) with a crop-o-dile...


Print photo's to 'wallet size' ...

Stick into place, tie together with some matching string ...

And pop into a little pocket. I will adhere the pocket to the back on the original (main) photo...


ACT 2 :)
More embellishments. A button was needed.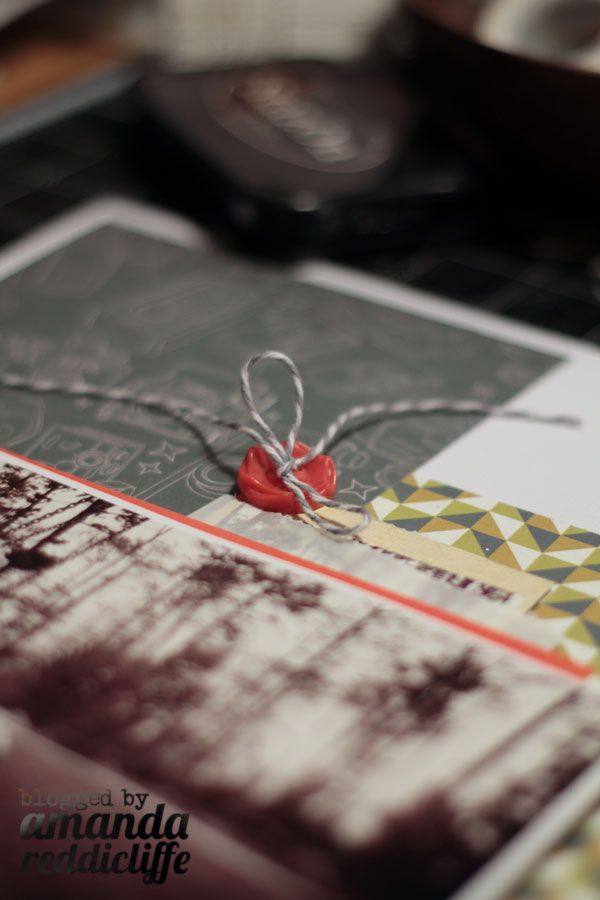
More embellishments. A button was needed.

Now for my title. I laid it out on the page before adhering into place so I knew it was going to look 'right' on my layout...

Grey layer first, then the yellow. I used Tombow adhesive to glue into place.
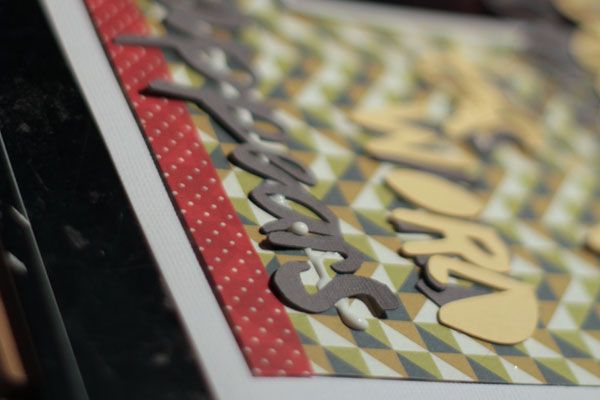

The title was too bright, so I toned it down with some Mr Huey's in white.

To protect my photo I laid a piece of scrap paper over it - it looks like it has a misted frame (oh, yes - completely intentional!) which I thought was cool.

More embellishments... lots of arrows ...
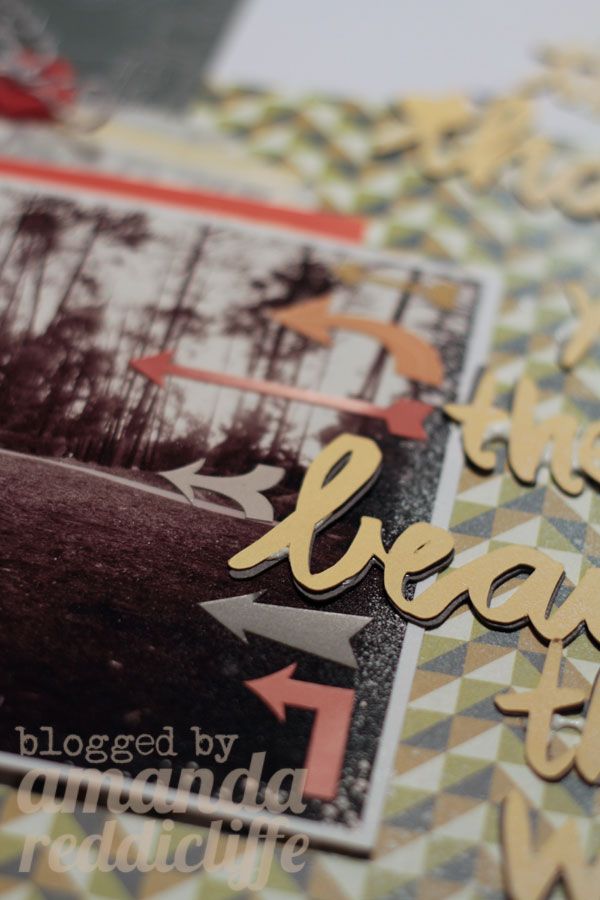
And that's about it!
Hope you enjoyed my step by step!

And that's about it!
Hope you enjoyed my step by step!
xx Amanda


0 comments