Step by Step with Amanda
07:00Happy Friday!
The end of the week is finally here, and hopefully that means a little down-time for our lovely blog readers! I have a step-by-step to show you today using the Polly! Colour My World kit and I hope it inspires you to get crafty this weekend.
If you would like to share your scrapbook pages using your Polly! kit please upload them to the gallery so we can admire!
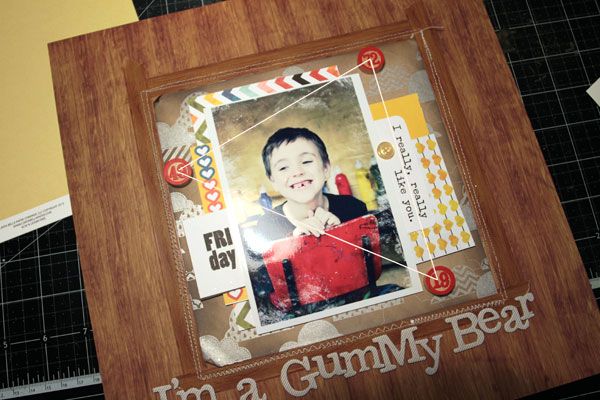
Here's a look at my layout in full...
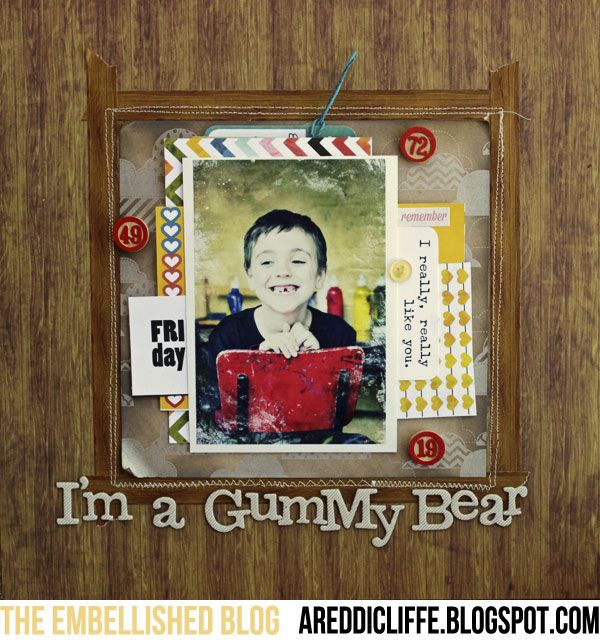
And here's today's step by step...
I must admit, I was a little spoilt for choice when I pulled everything out of my kit this month. Could I say maybe a little too spoilt??! Anyway, I spread out the papers I thought I would like to use with my photo - I always look at what colours are in my photo, then pick my papers to match some of the colours. In case you were wondering the photo has been edited in Photoshop using some texture overlays so it is already ... boy-ishly distressed.
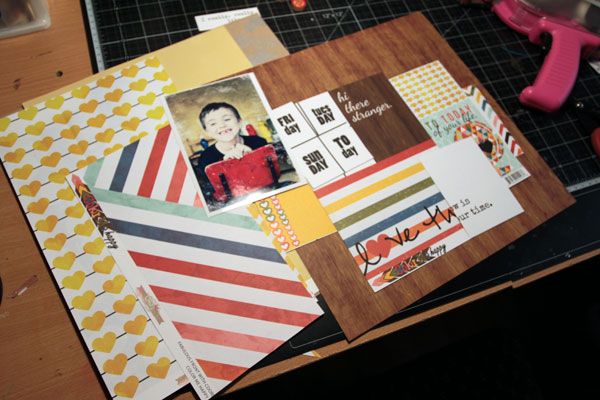
Lots of cutting up ... I have layering in mind, and I want to use all these different patterns in my layers.
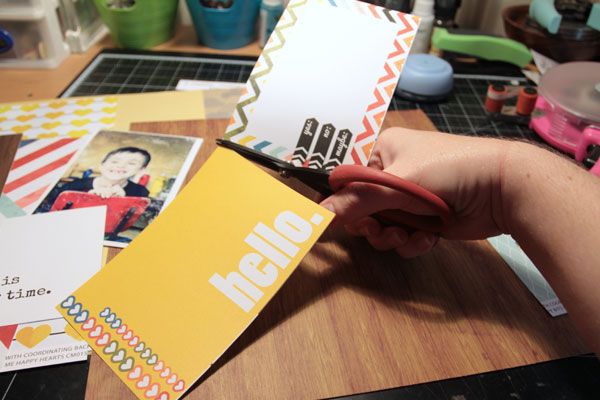
Now I'm a little more organised - I am pretty sure I can handle all these cuts. Let the gluing begin.
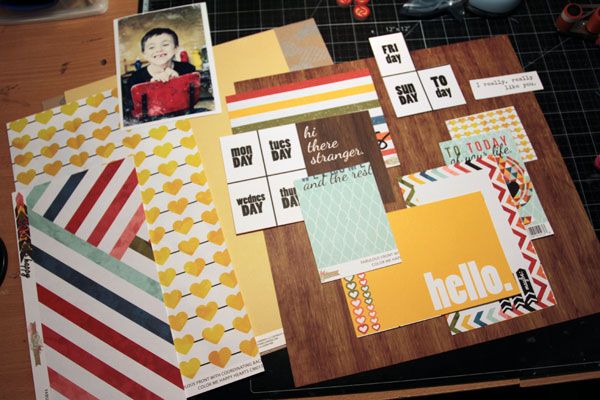
I love making layers behind my photo's (as many of you would already know). I love the photo being the focus of my pages, therefore I always find myself propping it up off the page with layers of paper, 3D glue dots and more layers.
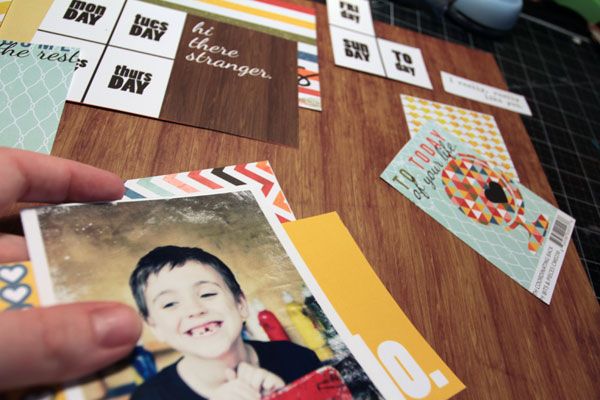
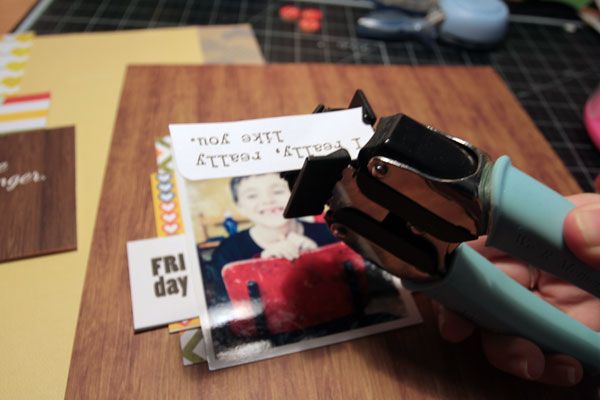
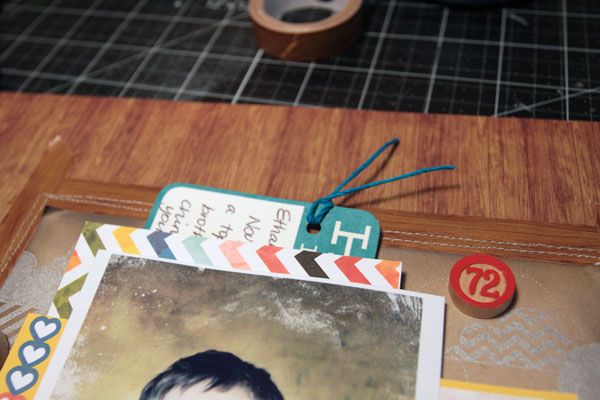
This little sentiment from this page of cardstock was one of the first things that got my attention, and I knew right away that it would be part of my layout. I dusted off my Making Memories corner chomper and rounded the two top corners - and had an instant tag.
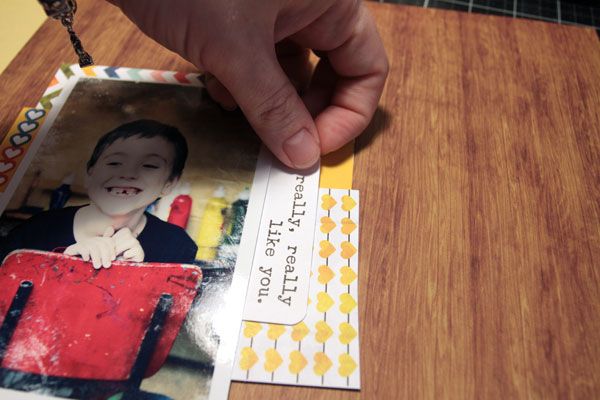
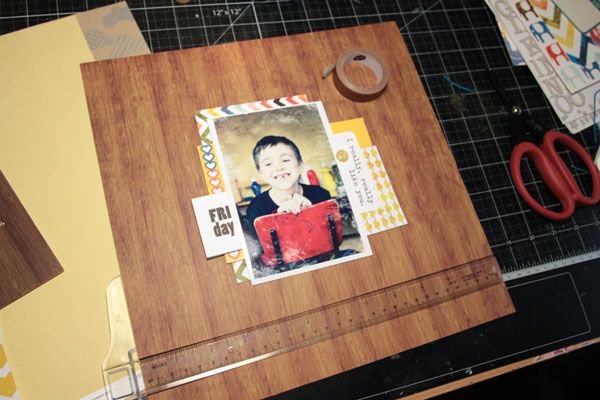
Next I got out my ruler and measured up for a frame - this is where I'm going to use my Washi tape from the kit to frame my layered photo. The Washi is going to be a slightly darker wood grain than my paper, but still subtle enough that it's not going to be the only thing you see on the layout.
At this point I had decided 'Yep, that frame is too subtle!' For a little more pop I cut down and added the Hambly paper to the background, but stepping back I still wasn't sure I was happy with this either...
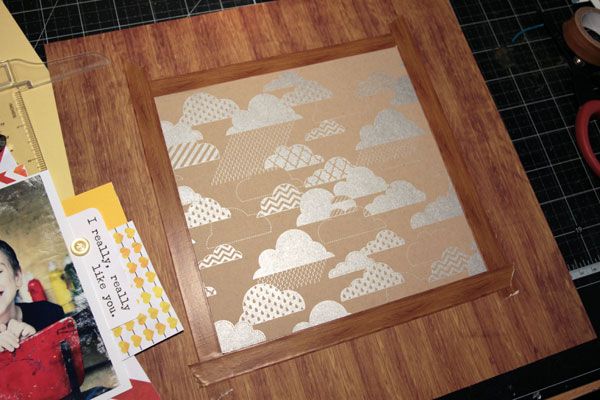
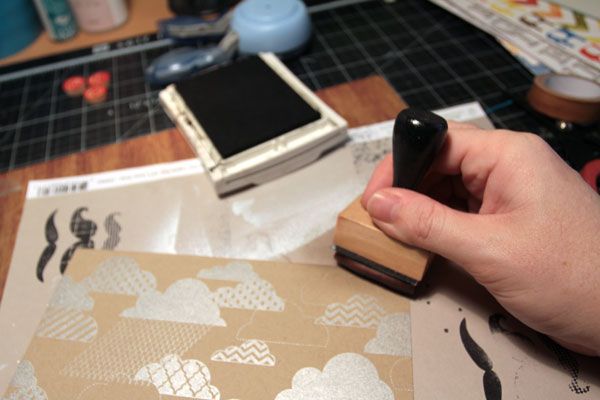
To make the edges of the Hambly blend better with the Washi border I used a sponge to add some ink to the edges of the papers ... let's see it this works out.
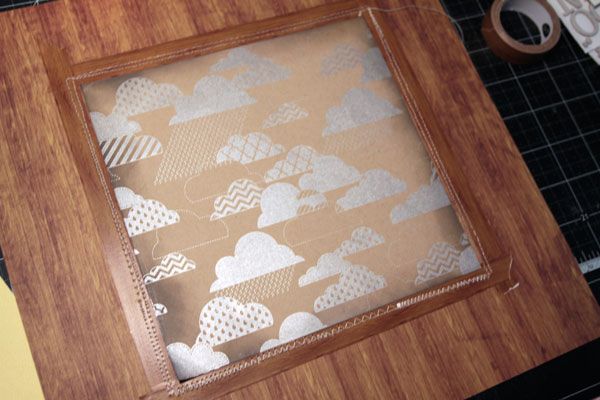
I added some messy stitching (intentionally of course), my Hambly paper is adhered into place and I am happy with how the clouds now popped off the paper with a little ink added...
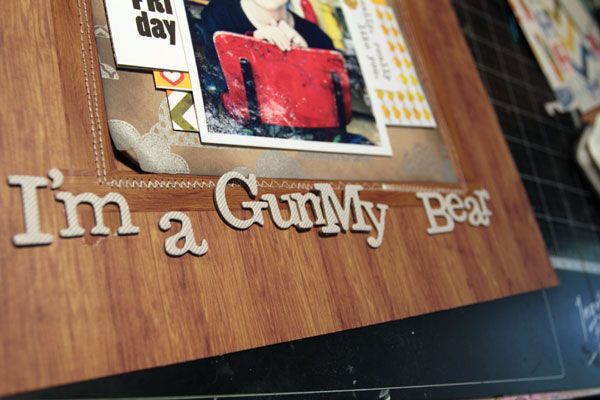
Next I added my photo, and set to work with the title. Before I settle on a title I always make sure I have all the letters I need. :) I like to lay everything out on the page, estimating where it will go, and then press the letters into place working from the outside to the middle, and even then some letters need adjusting. Luckily Thickers are quite easy to move around a couple of times. If all else fails they are also very easy to carefully stitch into place with your sewing machine.
I used the Bingo chips for a very deliberate embellishment triangle. :)
Next I got out my Crop-O-Dile and turned the name tag into a journal tag.
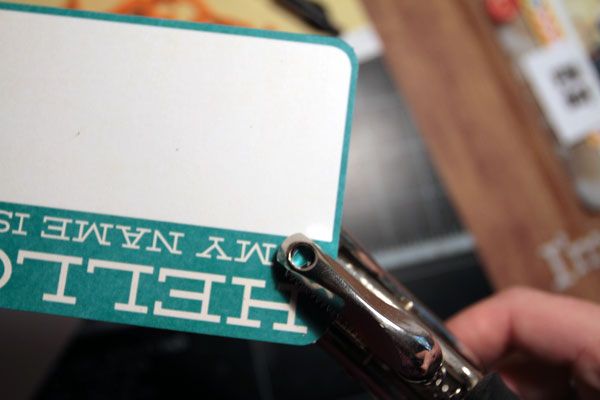
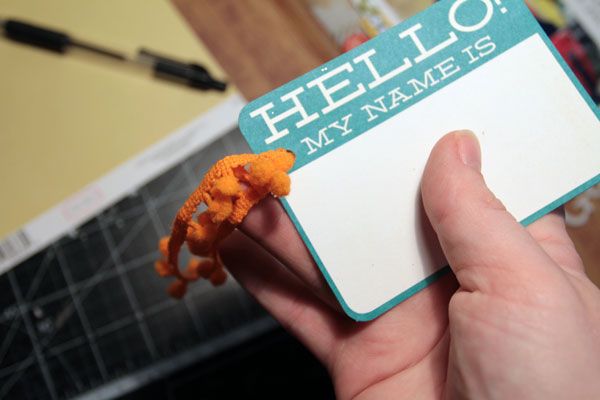
I originally added some of the pom pom ribbon to the card, but switched it up for the blue twine at the last minute. The method to my madness here is that you can pull the journalling tag out from wherever it happens to go - I'll tuck it behind my photo panel somewhere.
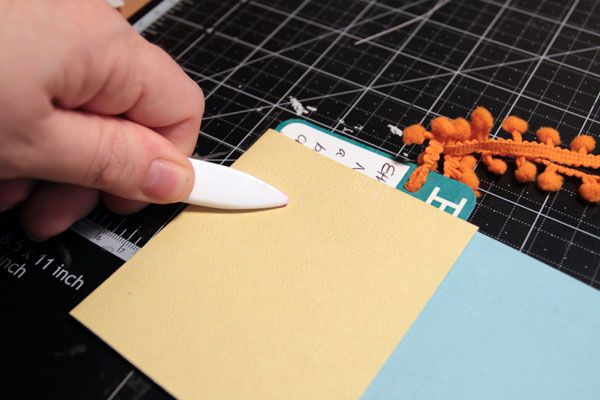
I made a pocket out of some scrap cardstock, making the edges flat using a folding tool... this will protect my tag from all the adhesive I have already put under my photo panel (not too much planning happened today with this layout!).
Ta-Daaa! And that's it!

Have a fantastic weekend!
xx Amanda



0 comments