
Instagram - Step by Step with Amanda
22:27Hi there!
Amanda here with you today to show you a little step-by-step layout I put together using some of the gorgeous products from this months Candy Dreams kit. If you don't want to miss out next month be sure to visit the Polly Store and shop 'til you drop for kits that suit any budget or project (hello Project Life fans!)...
I loved the Amy Tangering corrugated cardstock that came in this months kit - this has to be my fave colour in the world too. I got some white cardstock to put over the top of the teal - I trimmed about 1" off each side of a sheet of white cardstock and adhered it with double sided red-tape (ultra-sticky).

I immediatley loved this chevron patterned paper too - the romantic, girly colours in this paper were a perfect match for my photo of Miss K from her Christmas kindy party last December... I trimmed the paper to fit the white cardstock (2" off) and I used the B side of chevron paper (the dark blue paper sticking out from the title) to make my planned title stick out.

I sewed around the photo and then started adding some stickers here and there - I love how the colours of the kit go together perfectly.

Time for some little flyers and MME Enamel dots (I love these!) here and there all over the page...

Next I was wanted to customise my thickers - I got out some adhesive, glitter, a brush and removed the adhesive from the back of the letters...

With a small brush I added adhesive to half the letter so I could still handle and dip them into the glitter without getting glue and glitter all over my hands (paint I don't mind so much!).


Once the tops have dried go back and repeat the same steps on the 2nd half of your letters.

I've been getting into playing with paint quite a bit lately ... meet my new BFF, Matissa Acrylic pain (Titanium White) which you should be able to pick up at your local art store.

I put a little (a little goes a loooong way) on a wipe-friendly surface and dabbled a little on my finger - channel your inner child! - ready to apply to my layout edges.

I then rubbed some along all four edges of the corrugated paper.

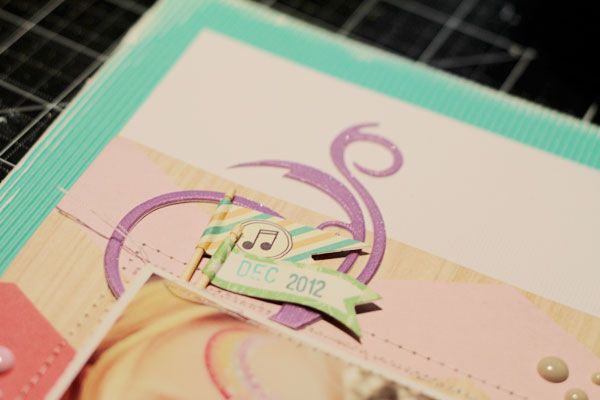
I added some pow from my stash - this is a Flourish with a Bling Jasmine Puffy Flourish (not included in the kit).
Now that the 2nd part of my letters are glittered up and dry I've glued them into place and pressed down flat for 30 seconds with a ruler.


I made the dark paper a little thicker in the end - the title didn't quite fit on my original peice of backing. Now the title was in place I found there was too much space. I added some home made Mr Huey's (white with a drop of Plumb Thumb), but still needed something else so I decided to play with the AC Taffy Glitter Tape - punch, punch! This little heart punch is my favourite.


And finally I added one last little sentiment with the punched glitter tape... :D

And here's the finished layout... ta-daaa!

Don't forget you can upload your beautiful creations too to the Polly! Gallery - be sure to have a look around too while you are there for tonnes of inspiration!
Bye for now,
Amanda


2 comments
awesome page Amanda...xx
ReplyDeleteGreat layout. Good tip for the changing letters to suit.
ReplyDelete