How I approach my Polly kit scrapbooking for Project Life
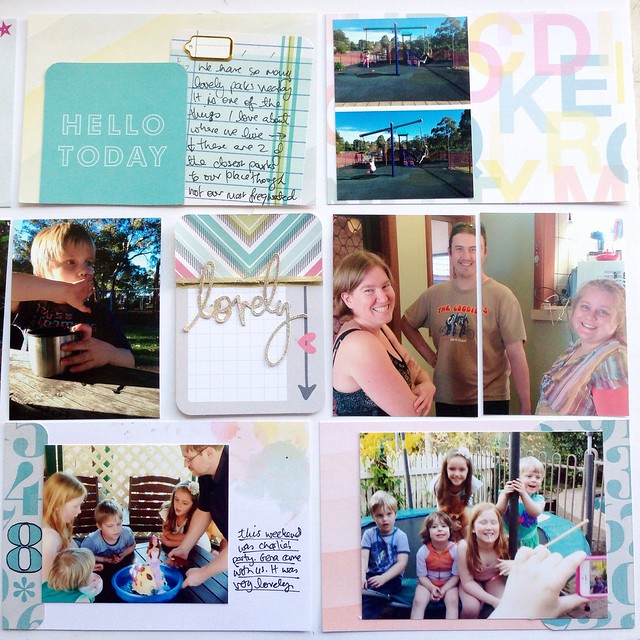
15:27

Happy Tuesday all, Ruth here today to share a little insight into how I approach using my PL kit. I am using the November Polly Project Life kit, and there are still some in the store if you wanted to grab one for yourself. I like to use a lot of photos in my project life spreads and I always print them before I start the layout, though I do try to print a mixture of 4x6 and 3x4, sometimes even a few 2x3, but other than that I simply print what I like from the week.

Once I have photos ready, I trim all my 6x6 papers to 4x6 and put them in a pile with any other 4x6 sized items, then make a second pile of 3x4 sized items in front of me. A third pile has all the embellishments and other kit items like letters.
I then add all my photos to the layout, followed by the 4x6 cards in the spaces which need them. I then evaluate the 4x6 sized things I have left to decide whether to cut them in half and use them in 3x4 spaces, and then consider the rest of my 3x4 sized items for those spaces. Note that I dont set them aside as "embellishments" yet, as I want to fill the spaces from largest to smallest.
Once all the pockets have backgrounds, I fill each pocket one at a time. To give myself a little more room I start with the left pages and neatly pile all the right page items to the side, rather than leave everything laid out the whole time.
As I work from card to card I feel free to chop any remaining pieces smaller and use any embellishments I have for each item, without "saving" any for later. This is the time to use them as the kit is made to work together. I usually use my own handwriting as well, as it is the fastest option for me, and I think it is not unreadable. If I am sitting at the computer to type the journalling I know I will be distracted by the internet, so I handwrite and finish my layout much more quickly that way.
The great thing about the November kit is that the colours are neutral but happy. Perfect for spring photos and matching with anything you like. Not too girly and not too boyish, it is a very versatile kit. I did sneak a few of the thickers from this months main kit in as well for my title card, they are great for project life as they are nice and small, and the foam is not too dimensional.
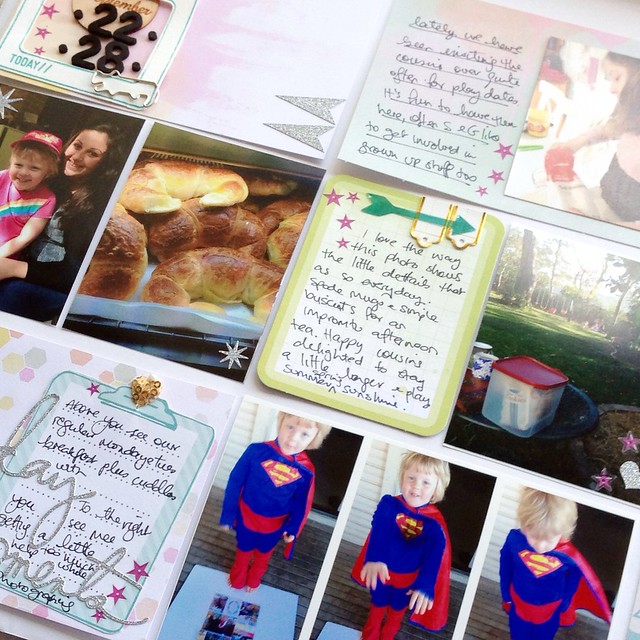
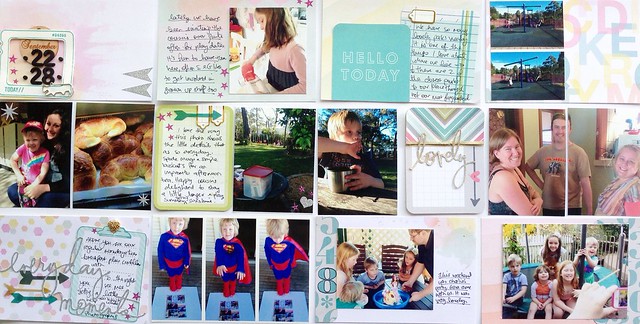
I am a few weeks behind, so I am using my September monthly veneer, you can now buy the whole twelve months of veneers in the Polly store without the hole in the top, in two different fonts, but they are racing out the door so you might need to be quick 
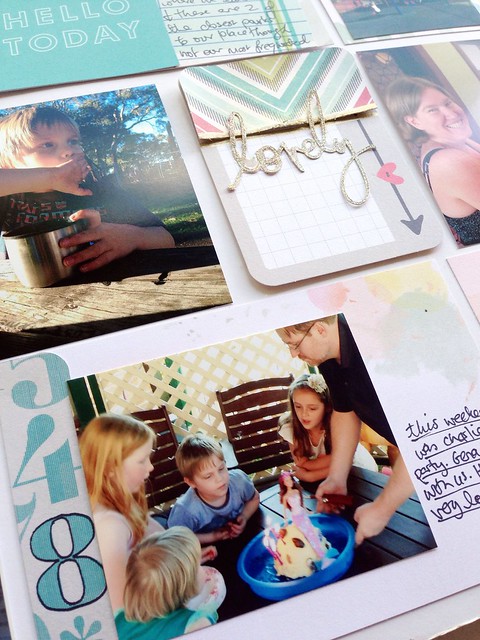
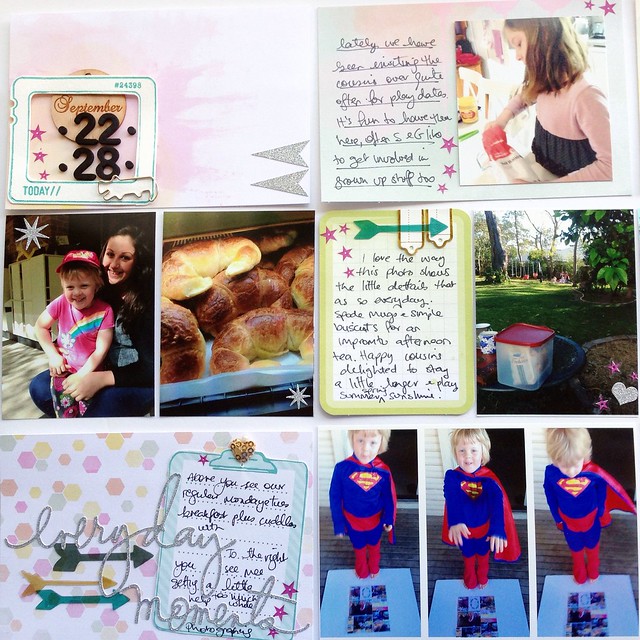
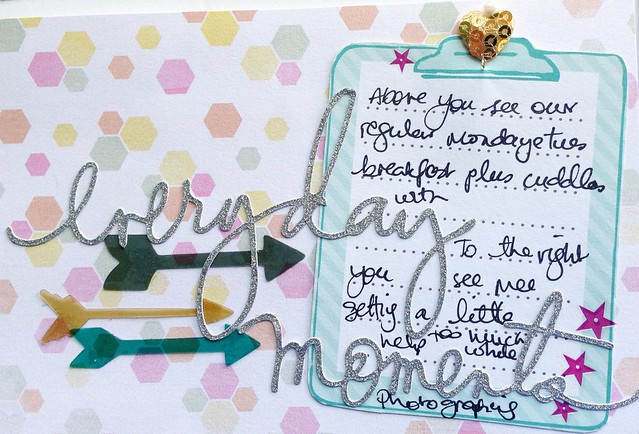
Here is the full spread, and you can find the November kit here in the store. It has been a pleasure to work with from the letterpress frame, to the Heidi swapp buzz words in glittery silver to the rubons and gold tags. I hope you have enjoyed it too.

You Might Also Like

2 comments

  1. Lovely Ruth! Like you, I've been staring at that alpha & numbers papers & wondering how I can highlight one & use it. Brain still ticking! Love how you used the letterpress card. May totally steal that idea!

    ReplyDelete
  2. Lovely Ruth! Like you, I've been staring at that alpha & numbers papers & wondering how I can highlight one & use it. Brain still ticking! Love how you used the letterpress card. May totally steal that idea!

    ReplyDelete

Subscribe To Our Newsletter

* indicates required

Blog Archive