
3 Top Tips with Twine with Ruth
20:54
Hurray for the weekend and a cyber crop to inspire and motivate some crafty time!! Last night out July Cyber crop kicked off with 2 challenges, Manda's sketch and Kate's colour challenge. You can find them both here in our facebook event or the blog post above.
I shared my own two examples in our facebook group for those challenges and will blog about them soon, but today I have a second example of using Manda's sketch and this time I wanted to talk TWINE. In the june kit there was a lovely gold and silver twine set from American Crafts, with metallics all the rage right now, it was an easy addition to my layout with it's touches of gold in the paper. So I have three tips for you today when you want to use twine on your layout.
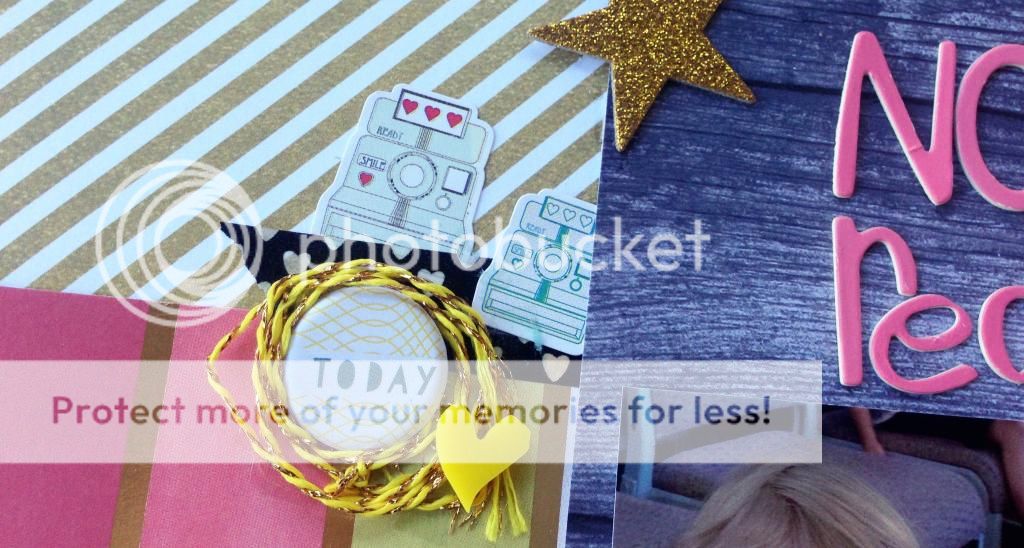
TIP 1. Firstly as you see in the image above, you can use it to frame other objects on your layout. In this case it was a circular element with the puffy stickers from the main kit, though a flair or brad or button would work exactly the same as this, I adhered the twine by using my glue runner in a patch, then adding the sticker, then looping the twine around my fingers and adhereing it on the glue, then using a bit of glossy accents for the last loop or two to help it not to unravel. Some twine is easier and some a bit stiffer for this technique.
Bonus for Tip 1. You can frame any object, it doesnt need to be round or small, you could use twine around a photo as a frame, you could frame the entire page with twine or any shape of embellishment, the beauty of twine is that it can take any shape and framing a key element adds a wonderful texture to your layout while focusing the viewer on the framed object.

TIP 2. Wrap the twine around other objects in your project. This can be useful for a lot of purposes including adding texture and emphasis (as with tip ones technique) and adding lines and direction in your layout. The contrast of the straight line with the loopy bow is another great design trick to create interest on the layout.
Bonus for Tip 2. Mix twine with other textures, it plays nicely with soft things like ribbon and fabric as well as hard things like chipboard and metals. I can be a great way to attach other things to the layout, both figuratively and literally, here the bow would seem to be floating but it is anchored by the wrapped twine instead.

TIP 3. Create embellishments with twine for flexible shapes, dimension and balance. Twine is such a versatile embellishment, it can fit any number of gaps and be long and thin, trailing the eye across a project or small and bulky, creating a point in a triangle of embellishments on your project. Dont feel like you need to use it one way only. There I wrapped it multiple times around two fingers and then tied the middle to make a more bulky bow so I could have more visual impact than a single thread would create, I think stapled the twine on with my Tim Holtz attacher.

Bonus for Tip 3. For longer embellishing with twine, give the strand some freedom to find it's own shape. You can manipulate the twists and curls if you need to but it often looks better and more natural if you let it curl on it's own then glue that down where it fits your layout. Here I adhered this scrap leftover piece of twine as a frame for my journalling, I used a couple of tiny drops of glossy accents under it and then put my stapler on it to keep it from moving until it was dry.

Here is the completed layout, using Manda's sketch for the cyber crop and the June main kit from Scrappy Canary. Head over here if you would like to subscribe!


0 comments